


 Decopatch and Cern Glass Frame How-To
With the weather after changing, its time, once again to think about what crafty projects you can do. Well- look no further.
With this quick decopatch how-to, you'll pass some of the time and end up with a stylish frame at the end of it.
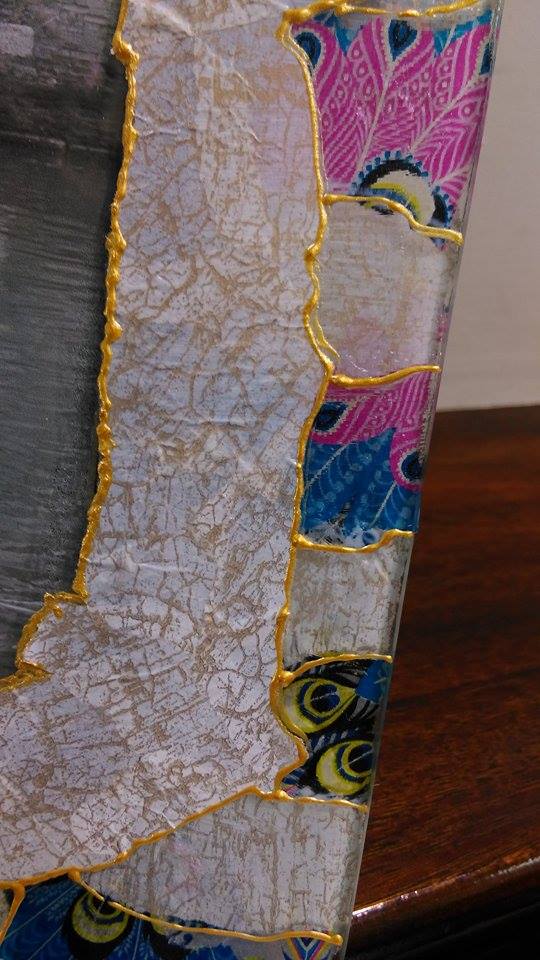
This frame has a 3D effect, using decopatch on both sides of the glass!
You'll need:
-Glass Frame
-Two sheets decopatch paper
-Mod Podge glue (we used Gloss)
-Paintbrush
-Cern Outliner


Step One:
Decopatch roughly around the edge of where the photograph will be, try and cover any of the overlap onto the frame. Don't go the whole way over because you want to be able to see the decopatch through the edges of the glass.
Step Two:
Once dry, turn thh frame around and stick the decopatch paper design side up (I'm going to call this reverse decopatch!), and go the whole way around the back of the frame. You can use as many different types of paper as you like, so you can get your funky designs!
Step Three:
When all the decopatch is dry, seal it using your Mod Podge, and leave again to dry.
Step Four:
Take your cern outliner(we used the gold), and on the front of the frame, draw around all the top layer of the decopatch, this will really make that top layer stand out! After you've finished that, extend the lines over the decopatch thats on the back of the frame. So the cern will be on the front of the glass with the decopatch visible behind it. This will give it a jigsaw effect!
These frames make a fashionable addition to any bedroom! And all the products used here are available in store!

No comments:
Post a Comment